

Installing a Kohler shower valve requires attention to detail to ensure optimal performance and safety. Proper setup guarantees precise temperature control and water pressure balance, enhancing your shower experience while preventing scalding risks. Follow the step-by-step guide to achieve a seamless installation, ensuring all connections and adjustments align with manufacturer specifications for long-lasting functionality and reliability.
Overview of the Kohler Shower Valve
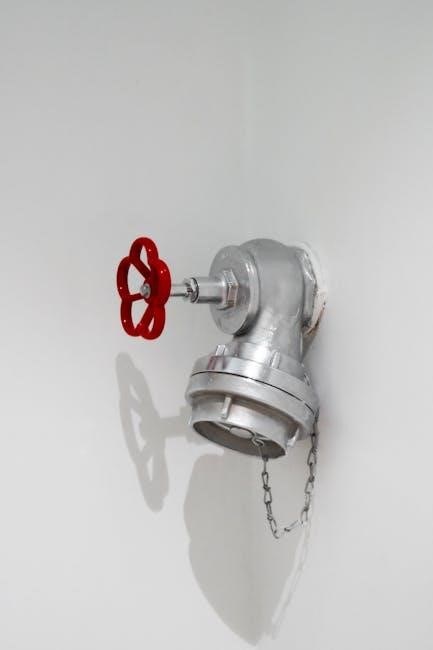
The Kohler shower valve is a high-quality plumbing fixture designed to regulate water temperature and pressure for a safe and enjoyable showering experience. Available in various models, such as the K-304 and K-305, these valves are known for their durability and innovative features. Many Kohler valves include pressure-balancing technology, which maintains consistent water flow despite changes in water pressure. They also often feature temperature-limiting settings to prevent scalding. Designed for both reliability and ease of use, Kohler shower valves are built with premium materials and adhere to industry safety standards. Their sleek designs complement modern bathrooms while ensuring long-lasting performance and minimal maintenance.
Importance of Proper Installation
Proper installation of a Kohler shower valve is crucial for ensuring optimal performance, safety, and longevity. Incorrect installation can lead to leaks, inconsistent water temperatures, or even complete system failure. By following the manufacturer’s guidelines, you can prevent potential water damage and costly repairs. Proper installation also ensures compliance with safety standards, such as maximum temperature settings to avoid scalding. Additionally, it guarantees efficient water flow and pressure balancing, which are essential for a satisfying shower experience. A well-installed valve also reduces maintenance needs and extends the product’s lifespan, making it a worthwhile investment for any bathroom setup. Attention to detail during installation is key to enjoying all the benefits of a Kohler shower valve.
Preparation for Installation
Preparing for Kohler shower valve installation involves gathering necessary tools, materials, and ensuring the water supply is shut off. A clear workspace and adherence to guidelines are essential for safe and efficient installation.
Tools and Materials Needed
To successfully install a Kohler shower valve, gather essential tools and materials. These include an adjustable wrench, pliers, screwdrivers, and a drill. Materials like copper tubing, thread sealant, plumber’s putty, and Teflon tape are crucial for secure connections. Ensure you have 1/2 NPT adapters and elbows for proper plumbing. A bucket or container may be needed to catch water during installation. Always refer to the specific valve model’s manual for any additional requirements. Having all tools and materials ready ensures a smooth, efficient process and minimizes potential leaks or installation errors.
Shutting Off Water Supply
Before starting the installation, locate and turn off the main water supply to avoid water damage or flooding. Identify the shut-off valves for both hot and cold water lines leading to the shower. Turn these valves clockwise until they stop. Open the shower faucet to drain the lines of any remaining water. If the shower is part of a larger system, ensure the main water supply valve is also closed. Verify that the water supply is completely off by checking the faucet for any residual flow. This step is critical to ensure a safe and dry working environment during the installation process.

Installation Steps
Position the valve, secure it with mounting hardware, and connect plumbing lines. Use thread sealant on connections and ensure proper alignment. Follow manufacturer guidelines for precise installation and testing.
Positioning the Valve
Positioning the Kohler shower valve correctly is critical for proper functionality. Ensure the valve is aligned with the water supply lines and showerhead or spout connections. Mount the valve at a height between 72 and 78 inches from the floor, depending on the setup. Use 2×4 bracing behind the valve plate for added stability, especially if the wall thickness varies. Proper positioning ensures easy access for future maintenance and prevents leaks. Follow the manufacturer’s guidelines for precise alignment and secure installation to guarantee optimal performance and longevity of the valve.
Plumbing Connections
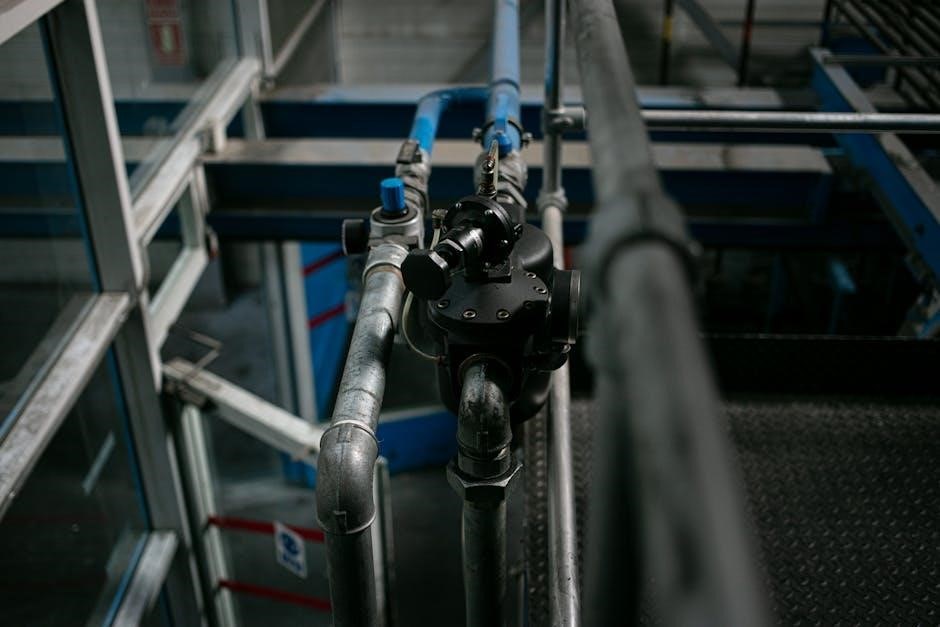
Securely connect the Kohler shower valve to the water supply lines and showerhead or spout. Use 1/2″ copper tubing or piping, ensuring proper lengths for connections. Apply thread sealant to all threaded joints to prevent leaks. Install elbows and adapters as needed for proper alignment. Connect the piping to the valve’s bath and shower outlets, ensuring they are securely fastened. Use temporary nipples to test water flow before finalizing connections. Make sure the valve is closed during initial testing to avoid water damage. Properly securing the plumbing connections ensures reliable performance and prevents future leaks or water damage.
Mouting the Valve
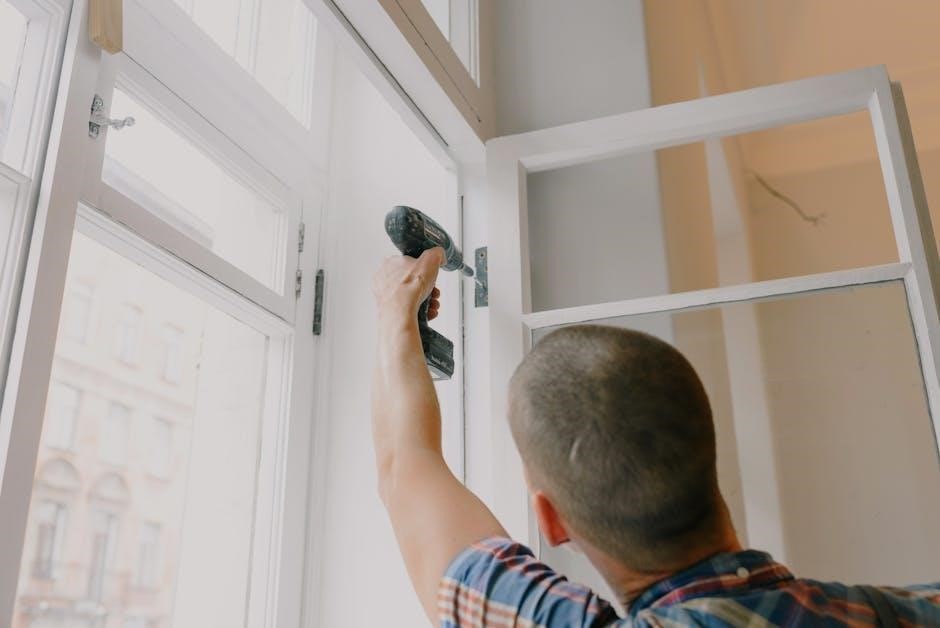
Mouting the Kohler shower valve securely ensures stability and proper function. Begin by installing 2×4 support framing behind the valve plate, aligning with the showerhead and bath spout locations. Ensure the bracing accommodates the finished wall thickness. Position the valve, aligning it with the plumbing outlets. Use the provided mounting nuts to secure the valve to the framing, tightening evenly to avoid damage. For added stability, install temporary nipples to support the piping during testing. Once mounted, double-check the alignment and connections. Proper mouting prevents leaks and ensures the valve operates smoothly. Always refer to the manual for specific mouting requirements based on your valve model.
Temperature and Pressure Balancing
Proper temperature and pressure balancing ensures safe and consistent water flow. Adjust the temperature to 120°F (49°C) and set the pressure balance according to instructions.
Adjusting the Temperature
To ensure a safe and comfortable shower experience, adjust the Kohler shower valve temperature to 120°F (49°C). Access the adjustment mechanism, typically located inside the valve, by removing any handles or covers. Turn the knob or stem clockwise to lower the temperature or counterclockwise to raise it. After adjusting, test the water flow with a thermometer to confirm the setting. It’s essential to follow the manufacturer’s instructions and consider local plumbing codes for accurate and safe temperature regulation. Regular checks and maintenance can prevent future issues and ensure consistent water temperature.
Setting the Pressure Balance
Adjusting the pressure balance in your Kohler shower valve ensures consistent water flow and temperature. Locate the pressure-balancing unit (PBU) within the valve. Turn the adjusting ring clockwise to increase cold water pressure or counterclockwise to increase hot water pressure. Use an adjustable wrench if necessary. Test the water flow by turning on the shower to ensure even pressure. If the flow is too weak or strong, fine-tune the adjustment. Proper balancing prevents sudden temperature shifts and maintains optimal performance. Always refer to the installation manual for specific instructions tailored to your valve model to achieve the best results and avoid potential issues.

Digital Control Setup
Configure your Kohler shower valve’s digital controls by following on-screen prompts for basic setup. Download the Kohler Konnect app for advanced features like temperature adjustment, water pressure control, and user profiles. Pair your device with the valve using the app, entering the PIN from the manual. Customize settings, enable maintenance alerts, and integrate with smart assistants for voice control. Set energy-saving options like shower timers to optimize water usage. Ensure all settings are confirmed and test the shower for proper function and personalized experience.
Configuring the Digital Controls
Configuring the digital controls on your Kohler shower valve involves syncing the valve with the Kohler Konnect app. Begin by downloading and installing the app on your smartphone or tablet; Open the app and follow the on-screen instructions to pair your device with the shower valve. Ensure the valve is powered on and in pairing mode. Enter the unique PIN provided in the installation manual to complete the connection. Once paired, customize settings such as water temperature, flow rate, and user profiles. Enable features like voice control through smart assistants and set up maintenance alerts for optimal performance. Test the system to ensure all controls function seamlessly and adjust settings as needed for a personalized showering experience.
Maintenance and Care
Regularly clean the valve and inspect for leaks. Use the Kohler Konnect app to monitor and customize settings. Follow guidelines for optimal performance and longevity.
Regular Maintenance Tips
Regular maintenance ensures optimal performance and longevity of your Kohler shower valve. Clean the valve regularly to remove mineral buildup and debris. Inspect for leaks around connections and seals, addressing them promptly to prevent water damage. Descale the valve periodically, especially in hard water areas, to maintain proper flow and temperature control. Use the Kohler Konnect app to monitor and customize settings for enhanced functionality. Refer to the installation manual for specific guidelines on cleaning and part replacement. Routine care helps prevent issues like reduced water pressure or temperature imbalances, ensuring a consistent and enjoyable shower experience.

Troubleshooting Common Issues
Identify and fix leaks quickly to keep your Kohler shower valve working well. Check and adjust temperature and pressure settings as necessary for proper operation.
Identifying and Resolving Leaks
Leaks in a Kohler shower valve often occur due to worn-out mixer caps or loose connections. To resolve this, shut off the water supply and disassemble the valve. Inspect the mixer cap and pressure-balancing unit (PBU) for damage. Replace these components if necessary, ensuring they are genuine Kohler parts. Tighten all connections securely but avoid over-tightening, which can damage threads. Apply thread sealant to threaded connections for a watertight seal. Reassemble the valve and turn on the water supply slowly to test for leaks. Regular maintenance and prompt repairs will prevent further issues and maintain optimal performance.
Installing a Kohler shower valve is a straightforward process when following the manufacturer’s guidelines. Ensuring proper preparation, precise installation, and regular maintenance will guarantee optimal performance and longevity. By adhering to the steps outlined, you can enjoy a safe and efficient showering experience. Remember to refer to the provided manual for specific details and troubleshooting tips to address any issues promptly. Proper care and attention will keep your Kohler shower valve functioning seamlessly for years to come, delivering consistent water temperature and pressure balance for enhanced comfort and safety;